Seen at the Northwest Historics a few years back.
goolsbee.org, serving useless content from an undisclosed location since 1997
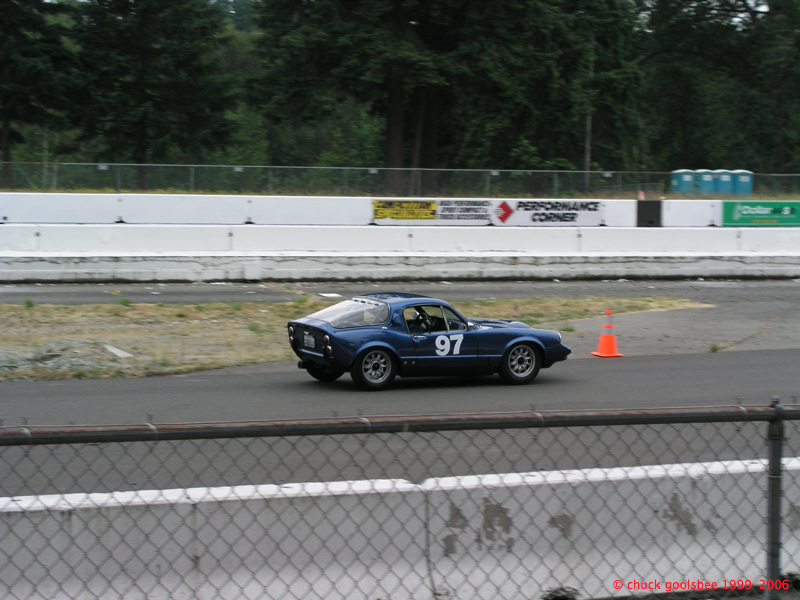
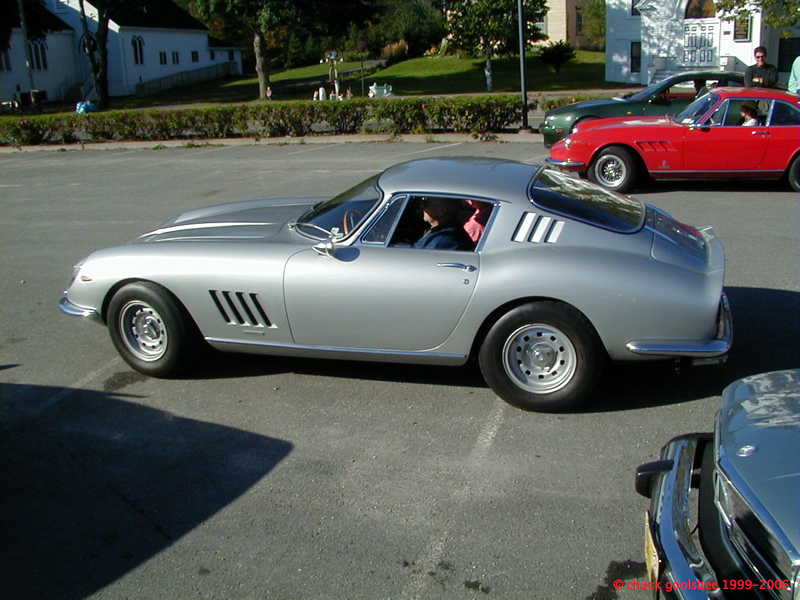
Seen at the Northwest Historics a few years back.
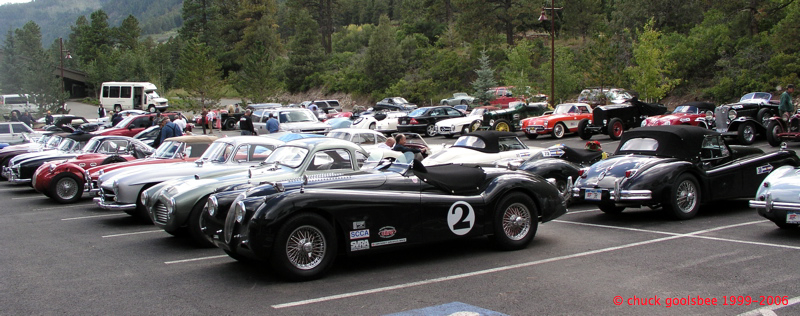
Name all the cars. 😉
No photos sorry!
I finally wrestled my new mufflers on night before last. Wrestled further with the pipes under the IRS last night. I can’t get the resonators on due to some deformity in their shape from the person who clamped them on (not me!) The pipes are very crooked at the moment, but at least they are on! I figure I’ll get them on first, then fine-tune the position of them later.
The sun came out briefly yesterday evening and I moved the E-type from the barn to the garage (the wife’s car needed some maintenance and I wanted the space on the scissor lift for the tasks.) It took about 25 seconds of cranking for the XK to fire. Sounded great once running. =) The new tach gen I installed is working perfectly… not so the JEC OP gauge… hmmm. When I turn the key ‘on’ the gauge runs up to 50-some PSI, even before I hit the starter. Obviously I installed it wrong.
The work on the wife’s car done, I went to move the Jaguar back to the barn to finish the exhaust work… as the clouds had parted for a bit I could not resist the temptation to take the car for a wee run around the neighborhood. This time the engine started immediately. Mmmmmm… what a wonderful sound!
About a half-mile down the road I stopped at the fire station to fiddle with the OP gauge wiring… and a lady hung a u-turn and came back to complement me on the car. “That is such a pretty car!” I thanked her and chatted for a bit. After she left I went down to the highway to get the car up to speed. Man, I forgot how nice it sounds and how good it feels!
Even without the resonators the exhaust note was very pleasing. The new mufflers are a huge improvement over my old cracked ones! 😉 The car now purrs instead of snarling and screaming like a cat that just fell into water. Still roars when the right foot presses forward but now with quiet confidence rather than hysterical shrieks.
The car is back in the barn. Now I just have to wrestle these resonators back on the car and sort out this new OP gauge.
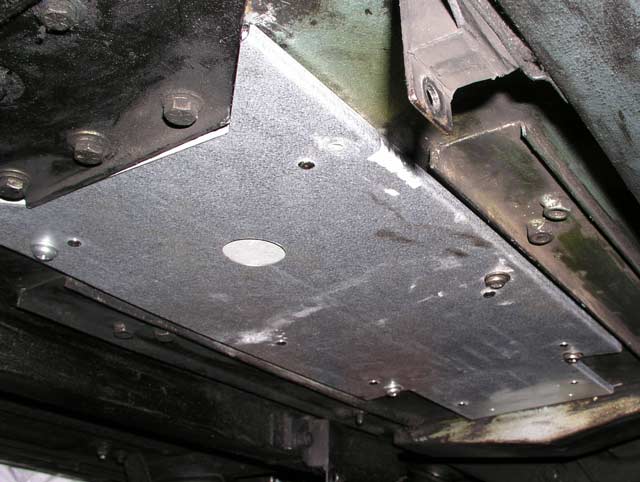
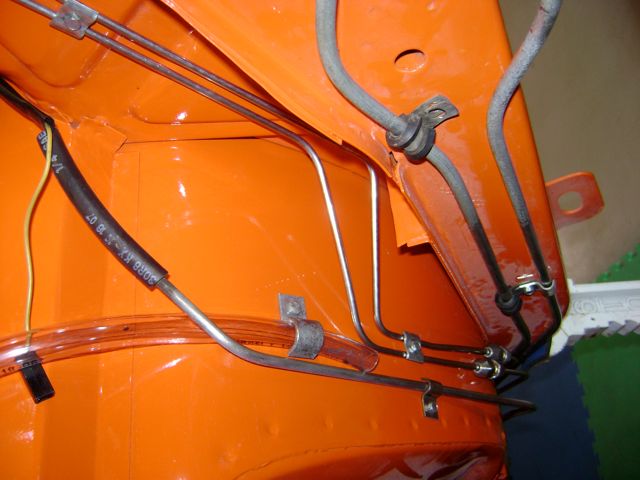
When I arrived home today there was a box waiting for me from SNG-Barratt. It contained my new heat shield, along with a few other parts (to be revealed at a later time.) I noted that the hole pattern in the new one was a bit different than the old one, which was proven true once i went out to the barn. This meant that my over-sized hole in the body of the car was irrelevant. Only two of the six holes lined up, so I ended up drilling new holes in the car. The view above was shot when I was part of the way through the process of installing it.
That went pretty smoothly compared to the next part: installing the exhaust itself. This is when it would be really nice to have a 4-post list and lots of room. I don’t. The car is up on jack stands and I’m lying on the ground underneath. This exhaust is like a Tetris game. Lots of fiddling and repositioning to get things right. The mufflers are kind of heavy and had to be supported by wood blocks while I fished bolts into place. Took the better part of the evening but I have them on the car now. I started with the pipes under the IRS and gave up when I realized I’m going to have to loosen the mufflers now to get them to fit. :\
Oh well. There is a cross-bar between those two pipes and two bolts that hold that on. This is the lowest point on the car other than the wheels of course. When the car bottoms out at speed these two bolts are what hits the ground. Have a look at them:
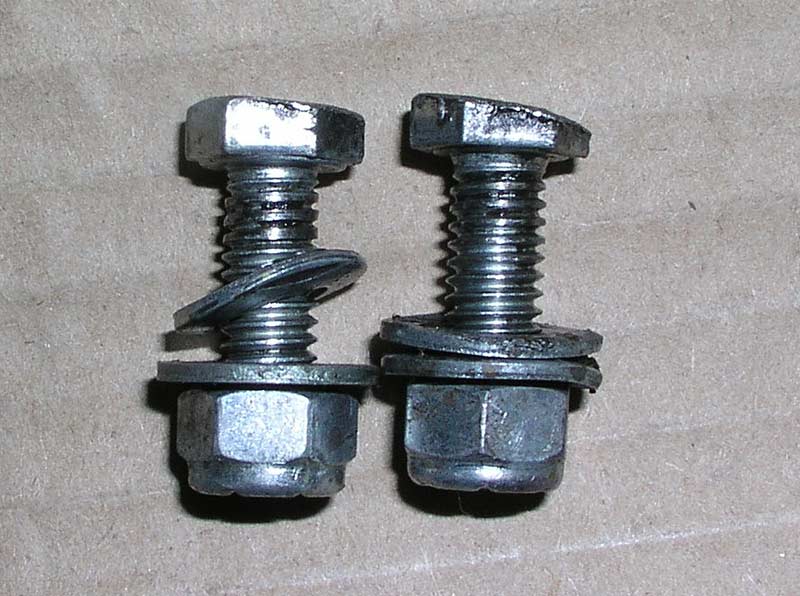
My kids can probably tell you exactly where all that metal went.
Hopefully I’ll have the car back together this weekend.
My friend and co-driver from the 2007 GTTSR (see links over there->) Shaun Redmond sent me some updated pics of his ongoing restoration of his old Volvo 1800. It is starting to look real good! Targa Newfoundland here we come, right Shaun? 😉
You can see the whole project from the beginning here.
Saw this on Jurgen’s blog. Like he says “Anyone who lives with a teenager ought to find this hilarious.”
Some more from Maranello. can you name all the cars in this pic?