“…THE GARAGE!”

Aliens may have ate the Buick, but here’s your car photo of the day. Can you identify it?
goolsbee.org, serving useless content from an undisclosed location since 1997
I am a “car guy”… I love old cars.
“…THE GARAGE!”

Aliens may have ate the Buick, but here’s your car photo of the day. Can you identify it?
Nicholas & I dutifully dusted off our rally brains for the traditional “Opening Day” of driving season here in the Pacific Northwest. The Mount Baker MG Car Club puts on this event every year, and has for almost thirty years! The Tulip Rallye is in fact older than the Skagit Valley Tulip Festival. It is a great, low-key, fun event that has fairly easy route-finding and a “gimmick rally” format – meaning you answer goofy questions with hints from signs and obscure items along the way. No TSD calculations required, so it is a fun way to start the season. It brings together between two- and three-hundred cars every year (though I imagine next year’s 30th anniversary will easily top 300) starting as always at the Cascade Mall in Burlington and finishing at the Swinomish Casino.
Continue reading “The 29th Annual LaConner Tulip Daffodil Rallye”

I had hoped yesterday’s CPotD would lead to an epic round of guessing. Little did I know the woodwork was crawling with vintage Japanese Mini Car fans! Of course, one of the very first CPotD shots was of a vintage Japanese mini car, so I guess plus ça change!
Today’s curvaceous car photo of the day subject should be pretty easy. Do you know it?

I meant to post this on Friday as the “weekend stumper” but things got in the way and I never got it posted in time. I’m editing the images from this past weekend’s Tulip Rallye and hope to have those posted soon. Meanwhile I’ll leave you to ponder the identity of the car pictured above.
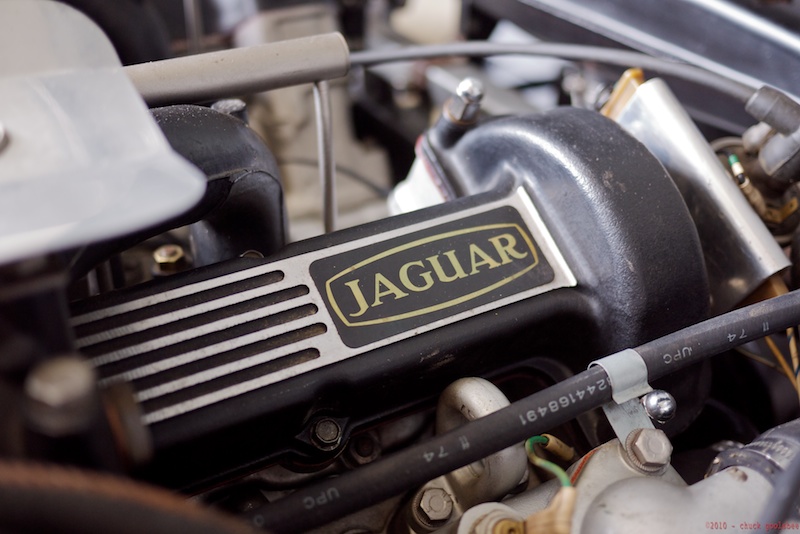
I recycle garbage into clean, renewable fuel that I use almost all year-round. So in a lot of ways every day is “earth day” around Chez Goolsbee. So while the rest of the first world was sending each other self-congratulatory notes about what they did on “earth day” I blew it off and went for a drive in my archaic, inefficient, old British sports car. The E-type Jaguar was, as Clarkson says, built not to save the planet, just get ’round it as fast as possible. Ironically I went to visit an archaic, yet efficient old British guy!
The plan was to meet my friend Greg Bilyeau near Bellingham, then take back roads up to the border crossing at Sumas/Abbostford, then over to Chilliwack for lunch with our mutual friend Geoff Pickard. As it happens halfway to Bellingham I realized I had left my passport behind. I called Greg and let him know the situation. As Greg wanted Geoff (a retired mechanic) to check his power steering, I sent Greg ahead while I doubled-back to fetch my papers.
After racing to the border mostly by Interstate to make up time, I breezed through Canadian customs in literally seconds, then jogged east to the Chilliwack airport via the Trans-Canada highway. I arrived about the time Geoff was finishing up looking at Greg’s Series 3 steering issue…
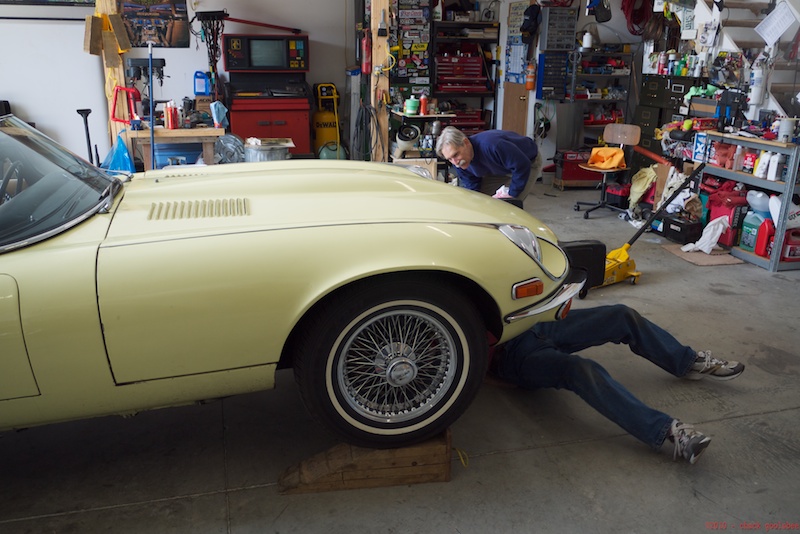
Geoff doesn’t like to have his picture taken. He does however like to have “his” cars photographed:

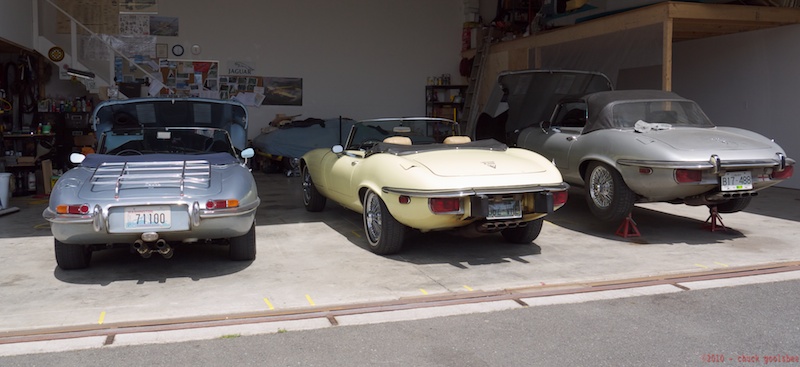
In the summer of 2005 Geoff rebuilt my engine. It had been completely bodged by an incompetent (yet somehow famous) restorer in Texas. In hindsight, given what I’ve had to do to address this bodged restoration I’ve come to calling it “The Worlds Most Expensive Car Wash” as it seems clear from what I’ve seen that a half-hearted rinse was about the pinnacle of their skill at the time. Geoff addressed the major issues, and I’ve tackled most of the minor ones over the years. The car is now for the most part ‘sorted’ as evidenced by my long distance tours of late. The engine I owe to Geoff, and his excellent work. I respect his current state of retirement and beyond the occasional plumbing his vast memory of all things Jaguar, I wouldn’t dream of imposing on him for work on my car. However I do like to show him how it is doing, which is why my bonnet is open in the pictures. I showed him how “his” engine is doing and the various things I’ve done to the car since.
After I showed him those various things, and asked some advice on some other things we had this exchange:
Geoff: “How many miles since I did the engine?”
Me: “Um, I don’t know (lean in to look at odometer), maybe fifteen-thousand?”
Geoff: “It’s out of warranty!”
We both laughed, and then went to lunch.
Lunch as always when visiting Geoff is at the famous cafe at the Chilliwack Airport. They are famous for their pies, but I never remember to save room for a slice. Can’t risk taking it to go lest the overzealous guys at the border take it away from me.


Speaking of which, the queue at the border going into the USA, in contrast to the morning’s zero-wait going north into Canada, was an hour+ slog. All I can say is: The terrorists have won.
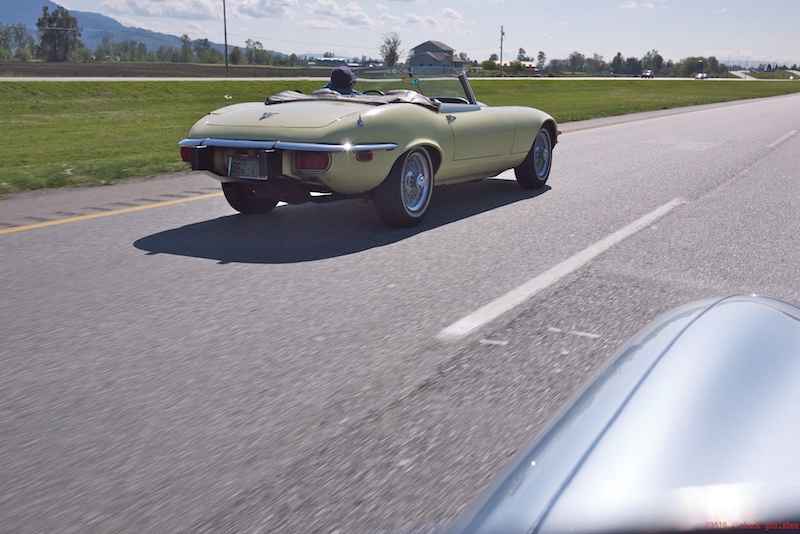
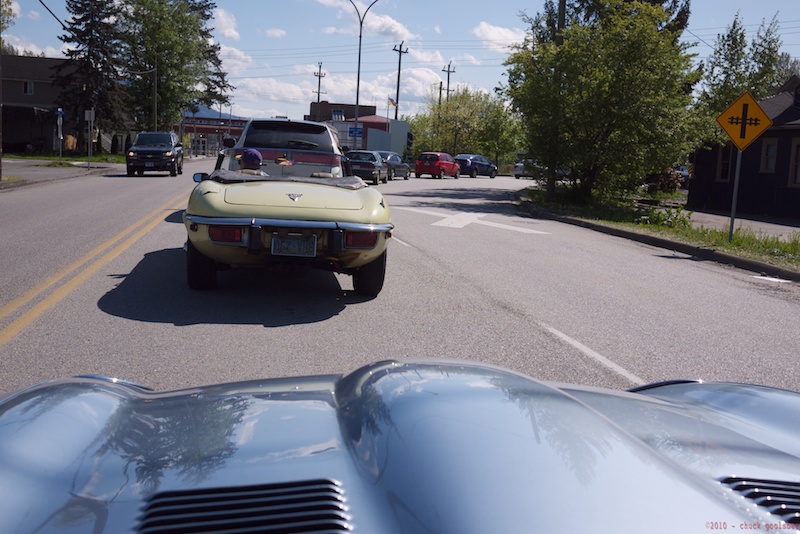
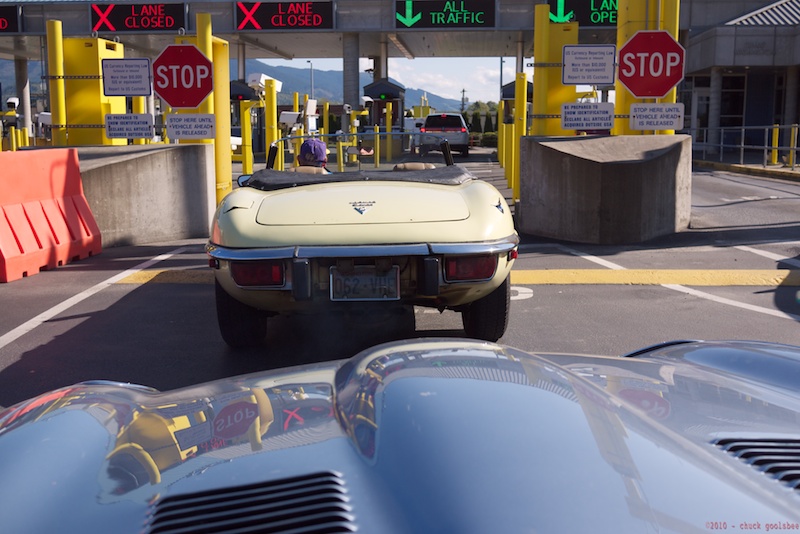
Since it took so long to get through US Customs I didn’t have time to take my usual back road route home and elected to follow Greg to Bellingham where I hopped onto I-5 and barreled home.
So I spent “earth day” spewing half-burnt hydrocarbons rather than my usual baby foxes and rainbows out of my tailpipes. Deal with it.
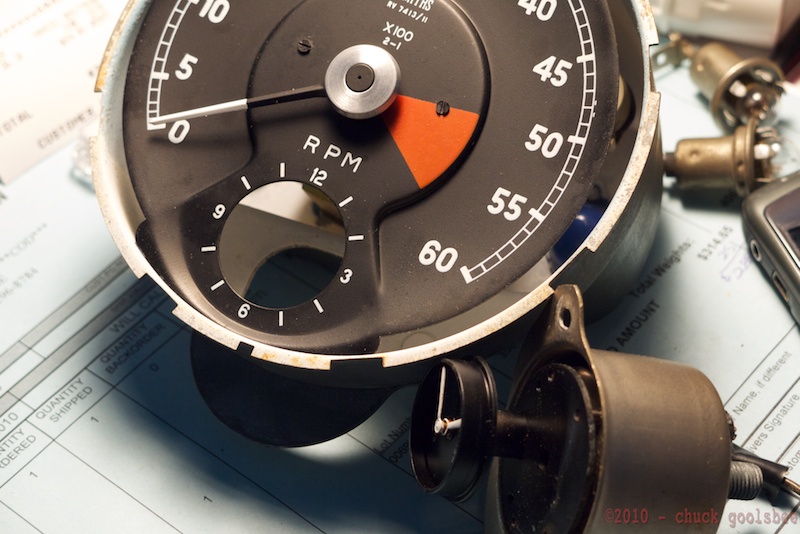
The E-type Jaguar was a very advanced car for its day. Not only was it a styling revelation, it also brought a lot of “high tech” bred on the racetracks of Europe to the street. It was the first car to bring four-wheel disc brakes, a fully independent suspension, and a monocoque/tube-frame chassis to the market. One other, not as well-known innovation was fully electric instrumentation – with the exception of the cable-driven speedometer all instruments were analog predecessors of today’s digital dashboard. The oil pressure, temperature, and fuel gauges were driven by electrical sensors and senders. The tach was driven by a small AC electrical generator located on the intake camshaft. The spinning camshaft generated X-voltage per revolution which translates to needle movement on the tachometer.
Much in the way that today’s goofy digital car accessories will drive car collectors and restorers of the future absolutely insane (Many a BMW customer is confused by the iDrive system, and they have a manual to RTFM… can you imagine some poor slob 75 years from now trying to decipher it without any reference materials at all?) these now-primitive analog electric gauges drive us crazy today. They were high-tech stuff fifty years ago (no more routing hot engine oil into the passenger compartment!) but add a layer of obsolescent complexity to maintenance in the present. The generators and other analog components eventually weaken with age and start producing erratic signals. My tachometer is no exception and based on my built-in “aural tach” I could tell that mine was off.
Jaguar, to their credit also noticed this issue over time and went to a distributor-driven tach not long after my car was built.
I hang out online with a bunch of old guys on the Jag-Lovers.org E-type forum/mailing list, many of whom have been maintaining these cars since the first started coming out of the factory in Coventry… three years before I was born. I really could not survive E-type ownership without them. They are an incredibly knowledgeable, resourceful, and helpful group. One of them, a gentleman in Cornwall, England by the name of Dave Rawle has solved the problem of the early Series 1 tachometer. I purchased one of Mr. Rawle’s circuit boards last year with the intention of adding it to my “winter projects” list. Of course winter came and went, and life prevented me from coming near, much less completing my list. The impending arrival of “driving season” has me now scrambling to get the list at least half-done.
Unfortunately this installation required soldering.
I retired from soldering shortly after learning how in Junior High Electronics class. The story involves permanent disfigurement and everlasting shame which I won’t share with you at this time. As Dirty Harry said, a man’s gotta know his limitations, and I know mine stop short of soldering.
Thankfully I know somebody who could probably make art out of solder in his sleep: Jim Cox He used to work for me at digital.forest many years ago, but before he was an IT guy, he was an Electronics Technician in the aerospace industry. I called Jim and asked if he would be willing to help me out, and he said yes. I handed off the tach, the circuit board, and the instructions to Jim a few weeks ago… and I suspect he stared at it stressfully for two weeks. Jim’s a very conscientious guy, and I think he genuinely feared screwing up this sensitive antique gauge. Having read the instructions myself, I knew the job was pretty straightforward, and well within Jim’s skills. If anything it would be a super-simple task for him. I inquired on his progress now and then … and heard hesitation in his replies. I gently pushed him, and reminded him of my complete trust in his skills. Sure enough last weekend I started getting progress reports from Jim over AIM/iChat. Then, a triumphant series of messages arrived, indicating that Jim had installed the board successfully. We arranged a time for him to come up to Arlington to help install it in the car.
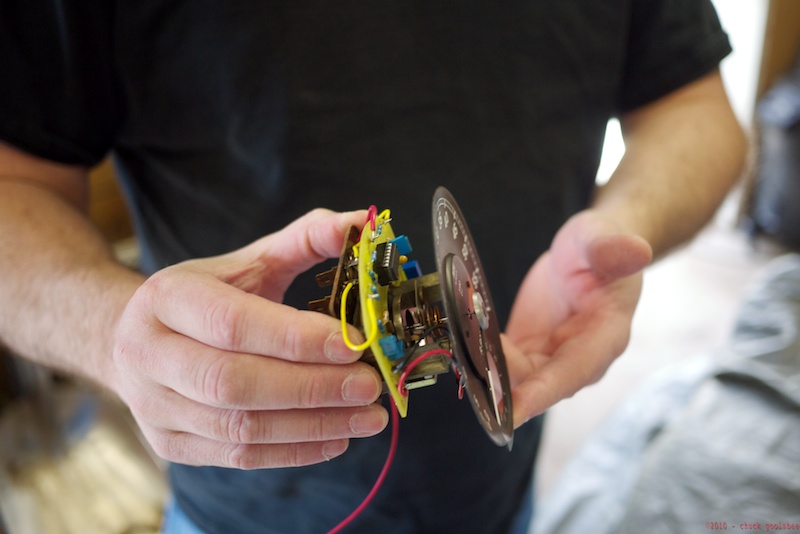
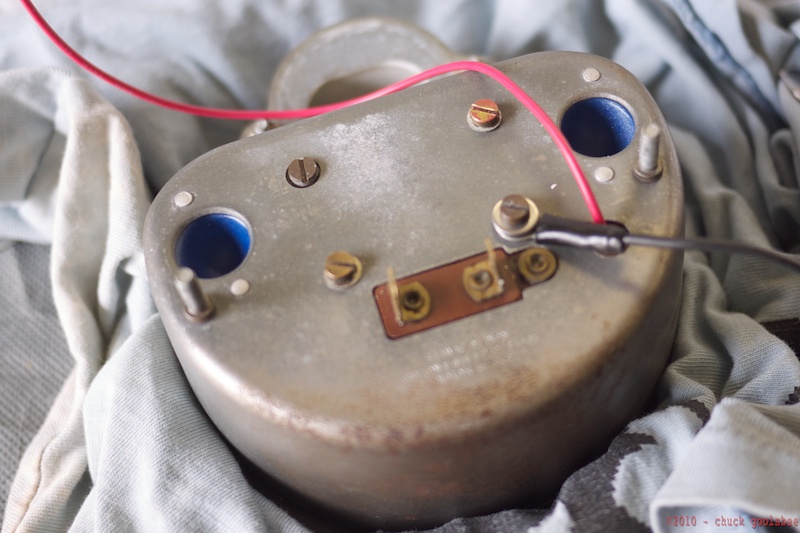
Another one of my “winter projects” is to have the Jaguar’s clock repaired. As the clock is integral to the tachometer’s housing I planned on doing them at the same time. Unfortunately the clock project has hit a brick wall (more on that another time, in another post) so the tach installation here will be a temporary one – just enough to get the car operational again. I showed Jim how the tach works and after a trip to NAPA to get some parts we needed (electrical connectors, and some washers) I set up a work table for Jim in the barn’s doorway.
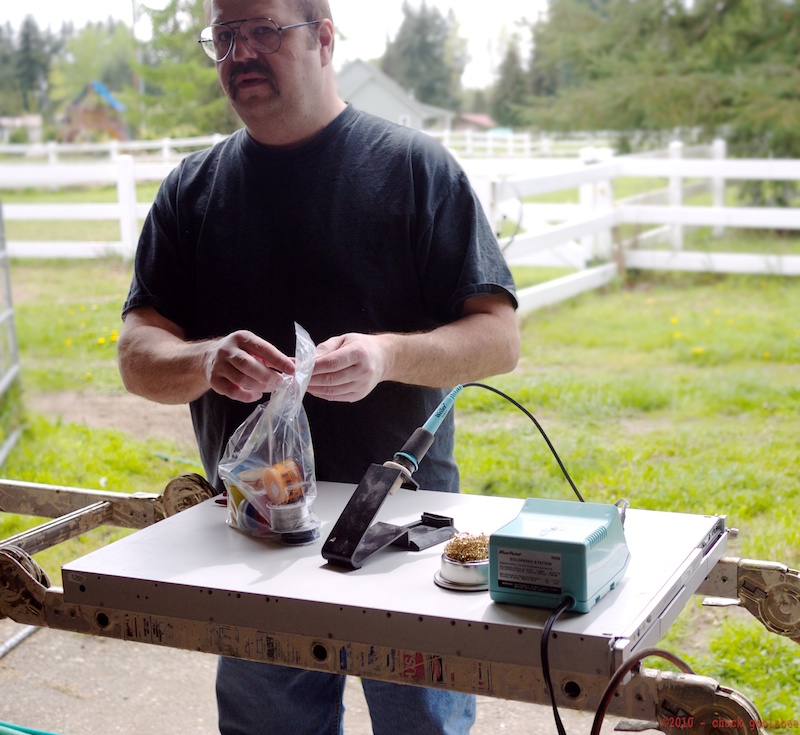
Yes, that “table” is a dead Xserve… don’t ask.
Jim built a new cable with an inline fuse for the new tach circuit board, along with a few extension cables so we could ground and test the new unit prior to actually installing it into the dashboard. Jim did the electronics work while I did the actual installing stuff into the car.
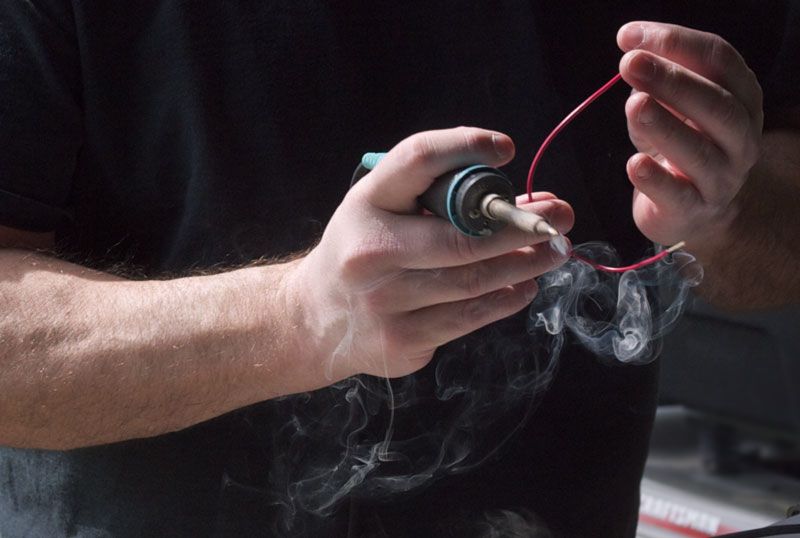

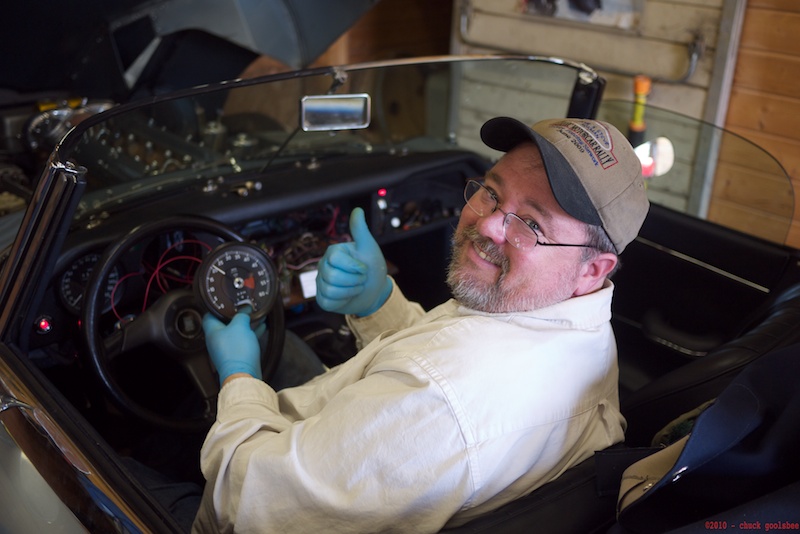
I wired in the tach and held it in my hand and started up the car. It works!
It is always such a massively satisfying feeling when stuff works properly. I watched the tach while running the car through various rev ranges that my ear is tuned to and made an initial judgement that things were working properly. Of course the proof is in the actual driving, so we cleaned up our work space and went out for a drive. First stop was in Arlington for a lunch. On the way the tach worked perfectly and was accurate to the speedometer through the gears. After lunch we went east into the mountains and had a great drive up by Lake Cavanaugh and Pilchuck Creek, the latter half with Jim at the wheel.
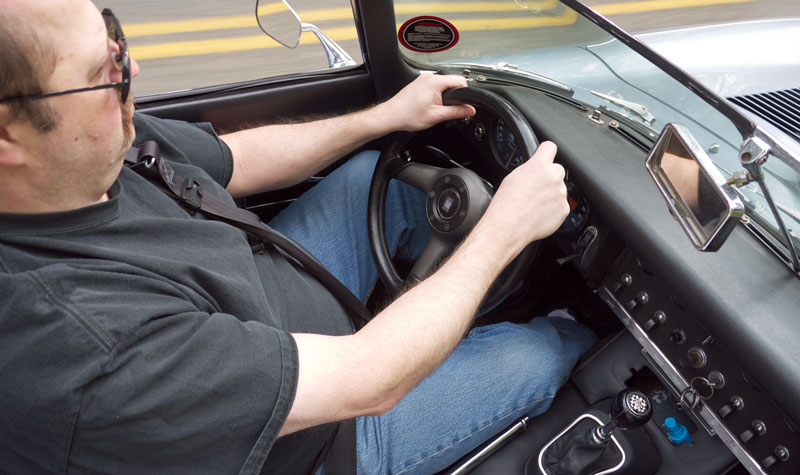
I think he liked it.

Topless, in any weather!
Tell a story about your craziest drive.
(this isn’t mine, just an explanation of my day…) Today I played hooky and went for a drive up to Chilliwack to visit Geoff, the (retired!) Yorkshireman who rebuilt the XK engine for me several years ago. He asked how many miles I’d put on the car since then and I guessed… “Probably about 15,000.”
His reply: “You’re out of warranty now!” 😉
I’ll post pictures from my day soon.