On a back road in France…
Category: Cars
I am a “car guy”… I love old cars.
Zen and the Art of Automobile Maintenance
I read Robert Pirsig’s famous novel when I was a teenager. The bits and advice about methodical working styles stuck with me. I’m not OCD about my workspaces, but I do tend to make project-based clearings and step-by-step layout of parts to keep myself on-track. I even used these methods back in the days when I was doing paste-up production in the pre-computer era.
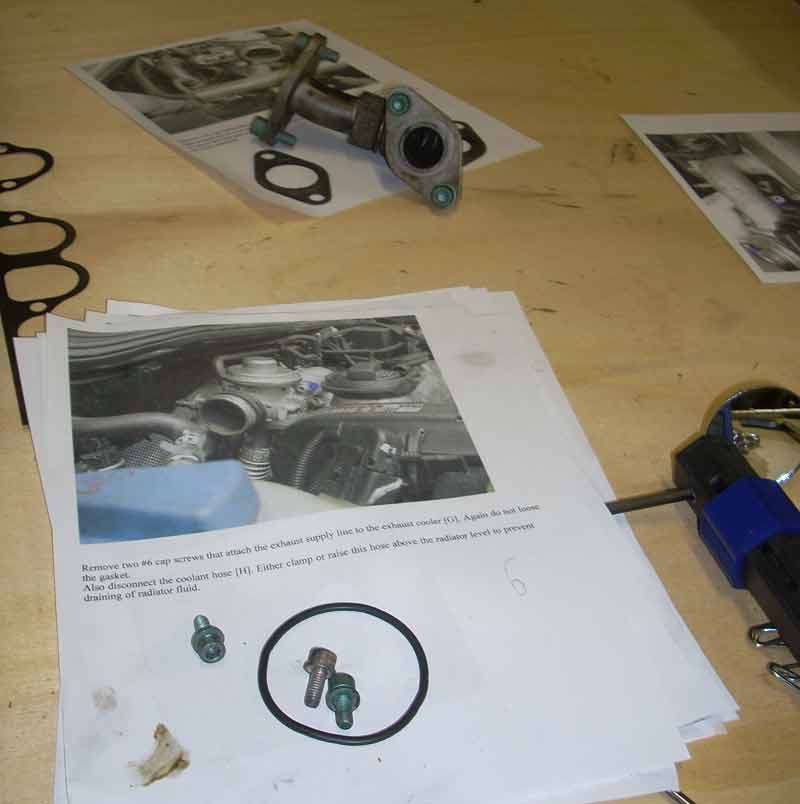
For my current EGR & intake manifold cleaning, and EGR cooler pipe replacement job I put the Jetta on the lift and created a large work-table in front of it with two 55 gallon drums and a large sheet of plywood. I printed out two “how to” PDF’s from tdiclub.com and stacked them on the lower left side of the table. As I pulled off parts I laid them atop their respective sheets, and numbered the sheet. I laid them out right-to-left, and bottom-to top along the table (backwards for a western reader that is.) This way when the time came to reassemble the car I start at the upper left, and then worked my way through the steps in an organized fashion. Outside of that workspace may be abject chaos, but within it, all is perfectly ordered.
This describes my whole life pretty well actually! 😉
Tonight after dinner I was finally able to start the reassembly. I’m still missing ONE part, so I can’t drive the car tomorrow, but I was able to get through the really hard work tonight. I’m so glad that: 1. I’ve done this job before, and 2. I put the car on the lift. Last time I did it while it was parked on the ground and had two things that drove me crazy. One was leaning over the car for so long while working bolts way at the back of the engine. The other frustration was re-attaching the intake pipe at the turbocharger, which is way down on the back of the engine. By putting the car on the lift I was able to raise it and tackle this job from underneath much easier than from above.
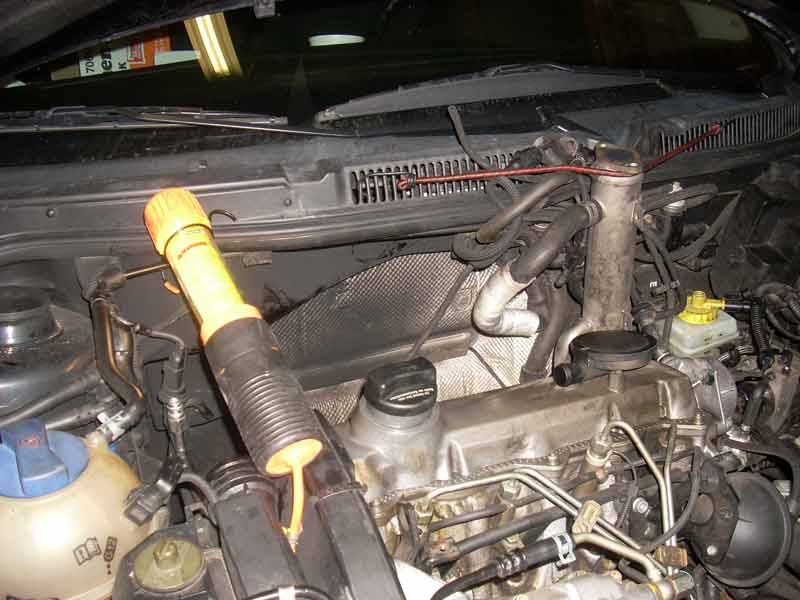
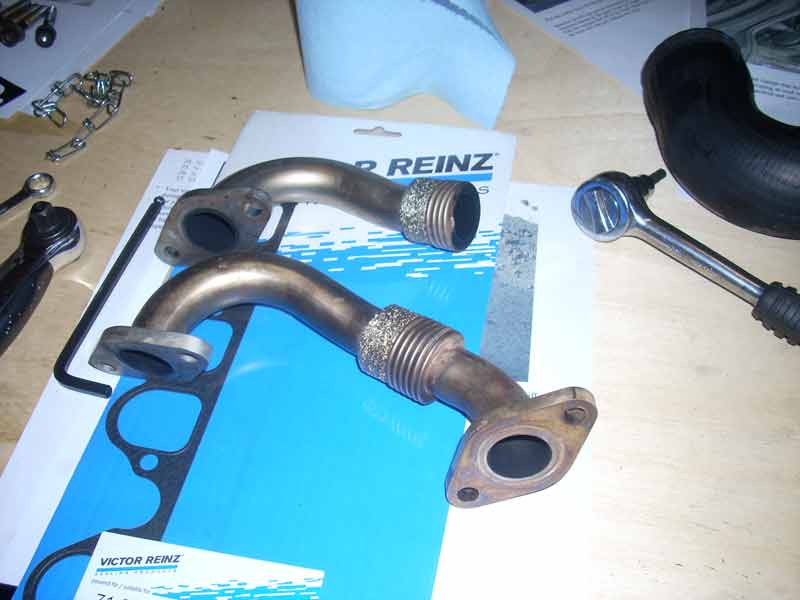
I picked up a “new” EGR cooler intake pipe from a local VW wrecking yard to replace my cracked one, along with a new intake manifold gasket. The only thing I’m missing is an o-ring for the intake manifold side of the EGR. I’ll stop by NAPA near my office tomorrow and grab one.
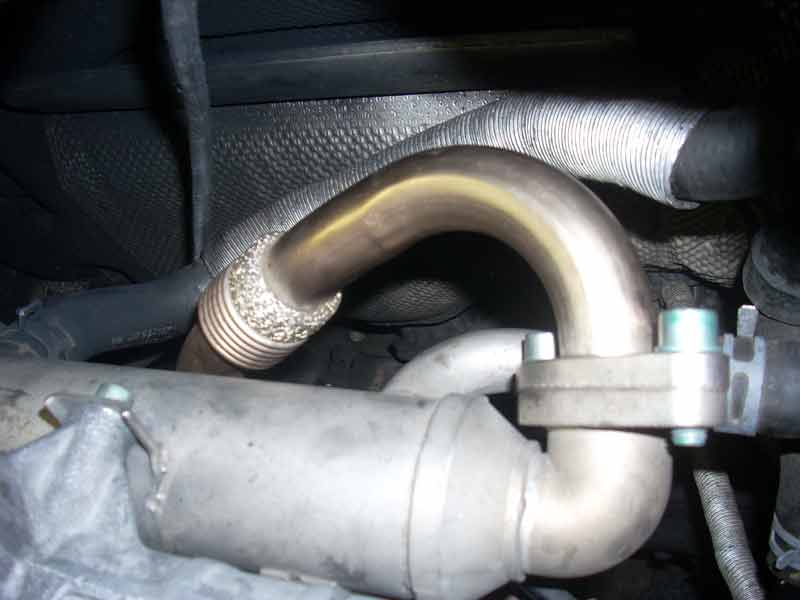
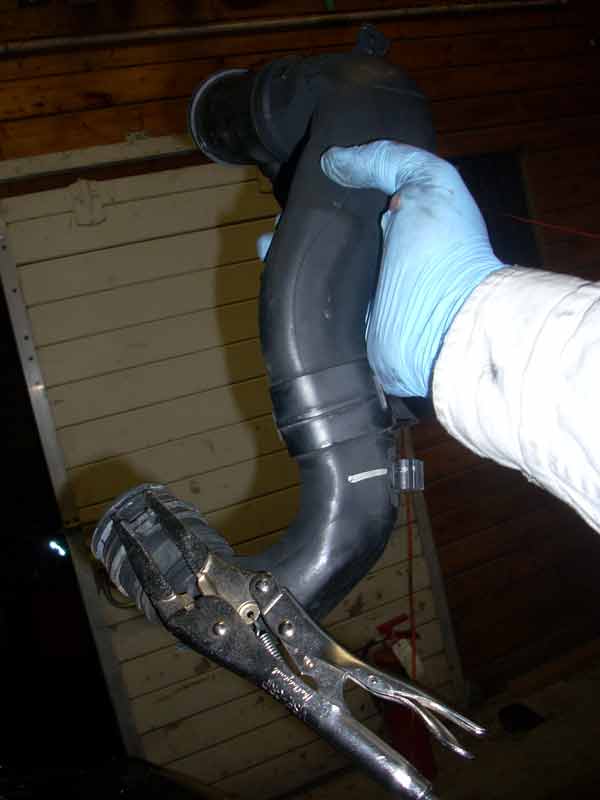
The issue last time was reaching down and re-attaching that hose clamp you see at the bottom of the intake pipe. Threading that puppy down there sort of makes getting your arm down there, with pliers in hand, rather difficult. By lifting the car a bit, I was able to reach up from below and snap it on pretty easily.
So all the really nasty bolts-in-mirrors and thread-arms-through holes jobs are done. Once I can source the proper o-ring I should have the car running again in a matter of minutes, as I just need to install the EGR, the EGR cooler outlet pipe, the rest of the intake system (two hoses and the air-cleaner box), some vacuum hoses, and the engine cover.
Car Photo(s) of the Day: Knock it off!
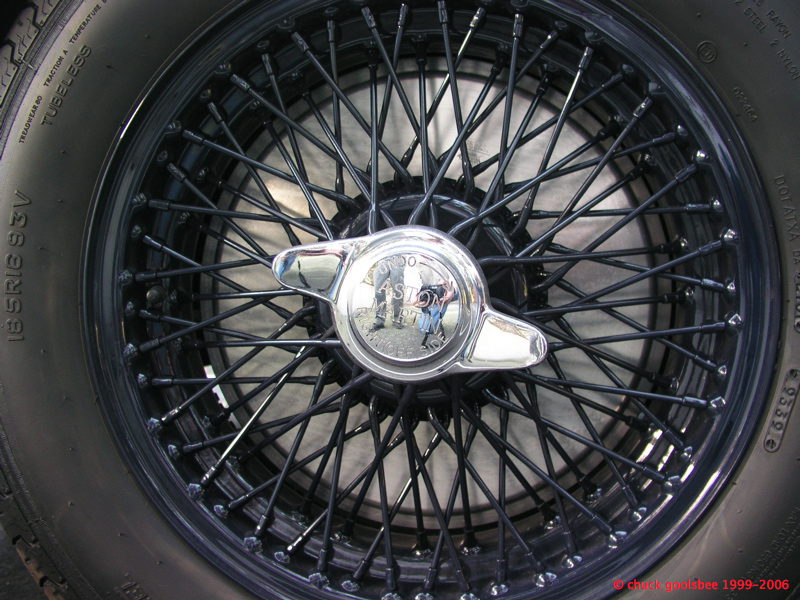
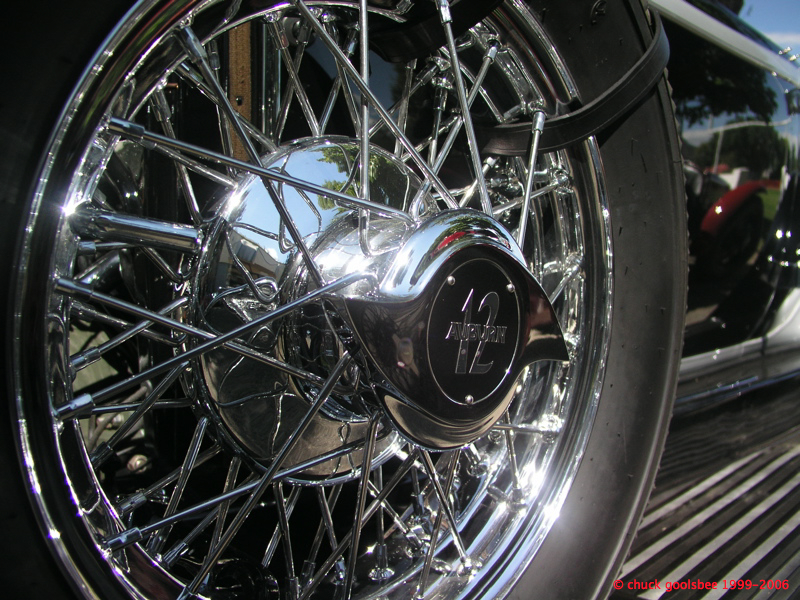
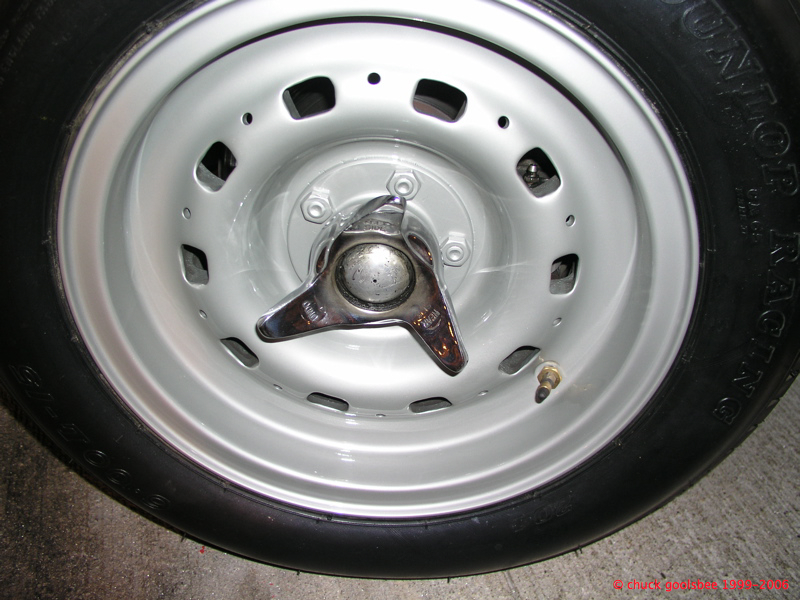
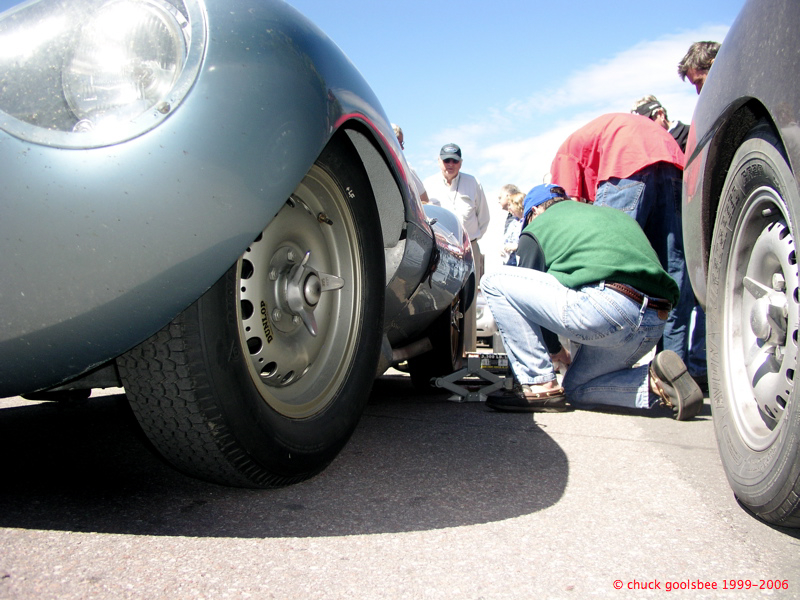
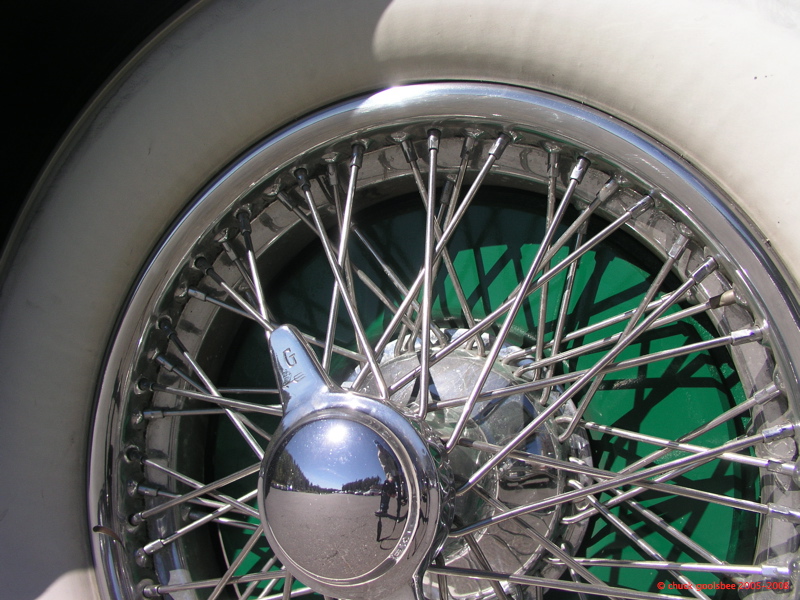
Inspired by the photos of Borrani wheel nuts on Ferrari Craft today, I decided to post a far wider array of unique knock-offs. Here are a dozen. Can you name the cars they are mounted on?
Some Vintage Seattle Laughs.
Back in the early Holocene (aka the 80s & 90s) we had a wonderful sketch comedy show on TV here in Seattle called ‘Almost Live!‘ I remember it airing on KING5 Saturday nights before SNL, and on Sunday evenings. When Internet video first appeared clips showed up here and there, and even early YouTube had some of the more famous bits (“Mind Your Manners, with Billy Kwan”, “High Fivin White Guys”, “Uncle Fran’s Musical Forest”, etc) but it seems they were relentlessly DMCA’s off the net. KING5’s website had a buried Almost Live section for a while a few years back too, but it seems to have vanished. Recently though it appears that quite a few folks have digitized home collections and posted them to YouTube. The most prolific of which can be found here.
Great stuff here… I could while away hours watching it. Good times.
Car Photo of the Day: Work Spaces.
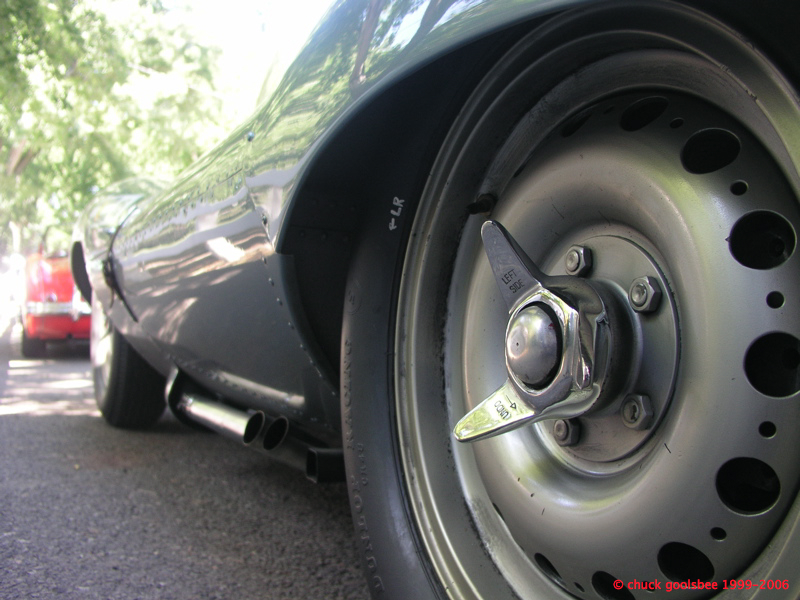
All cars have two workspaces really. The most obvious one is the space between the driver’s seat and the steering wheel. Most time is spent here, and virtually all effort is made to refine this workspace.
There is another one however, which is illustrated here. Anyone who maintains their own vehicles (like I do) spends some time in this other workspace. It is rare that much forethought is put into the ergonomics of this space. So many other things are further up the list of priority in the design of a car, such as the exterior appearance, crumple zones, ease of manufacturing, and now even pedestrian safety. As such these work spaces are often miserable. The car pictured above was designed as an endurance racer, so it’s maintenance workspaces are designed to be accessible, allowing for repairs to happen in minimal time with maximum accessibility to critical components. I’ve spent the better part of the last two days reaching for cap-head bolts using a mirror whilst laying atop an engine bay. Work like this almost requires three or four arms (one to hold the light, another to hold the mirror, and two more for the tools!) all in a space where the tool barely fits, much less the hands!
Since I trend to keep and drive my cars for well over 150,000 miles I’ve chosen cars where maintenance workspaces are at least minimally interfering. In the mid-80s when car shopping I looked at Hondas & Toyotas, but didn’t buy either after looking under their hoods. Both had engine bays so crammed that only spider monkeys dipped in grease could have a hope in hell of reaching some of the critical components. On my current car 90% of the stuff requiring attention is very easy to get to… right now I’m just dealing with the 10% of the stuff that is not. In hindsight replacing the Jaguar’s starter was easy.
Thankfully I’m not pressed for time, so I can take breaks and let my body recover from the contortions required.
Adventures in car maintenance, part 231.
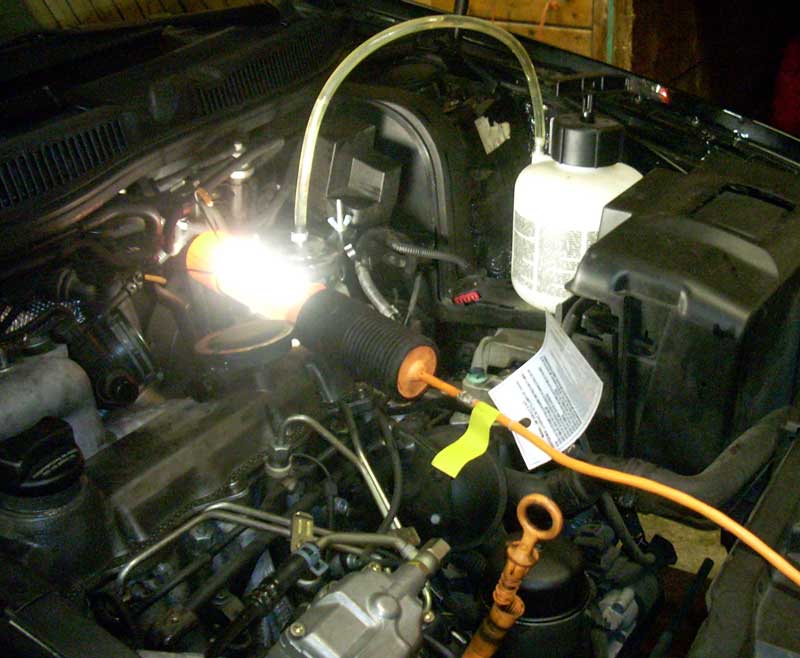
My daily driver is in need of a little TLC. The clutch is making an odd noise, and the CEL is on, with the car showing symptoms (again) of a clogged intake manifold and EGR. I figured I’d tackle those today. The clutch could be something simple as a good fluid flush (it has been way too long since I flushed the hydraulics in this car… (bad owner!) So since that job is easy I did it first. On the Jetta it is best to remove the entire air cleaner box to access the fluid reservoir and the clutch bleed screw. From there it is a very fast process…
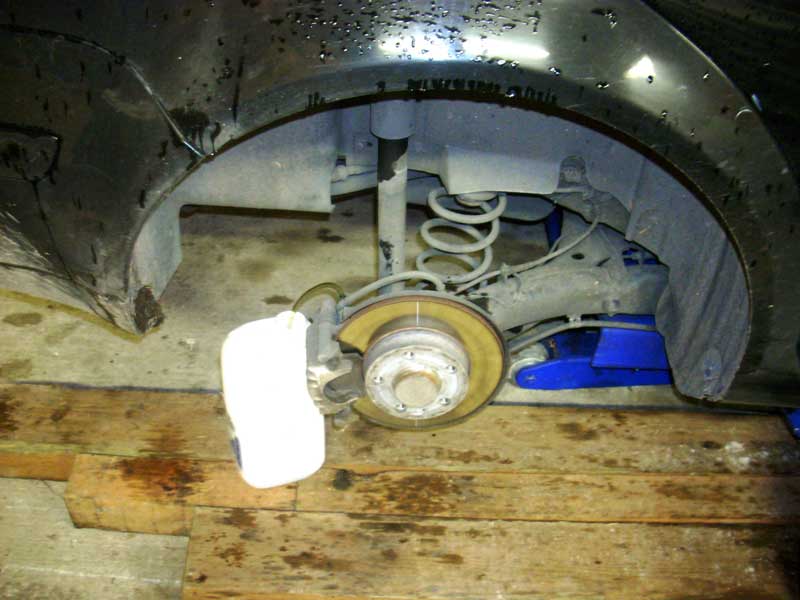
I have a “power bleeder” which makes the job pretty easy, the greatest benefit being that I can do the job alone without somebody to pump the brake pedal. It uses air pressure to push fluid through the system. I sucked out as much old brake fluid from the reservoir as possible, using a turkey baster (one I bought JUST for car-maintenance!) Then I filled it with fresh Castrol LMA DOT 4, attached the bleeder to the reservoir, and poured the rest of the Castrol into the bleeder’s bottle. Next I use the hand pump atop the bleeder to raise the air pressure inside the bleeder to about 10 PSI, and then walk around the car with an old milk jug, a length of clear tubing, and an 11mm combination wrench to open the bleed screws.
Once the fresh clean fluid starts running through the bleed screw is closed and I move on to the next corner of the car. The last item is the clutch bleed screw which is in the engine compartment. I did the whole car in about 5 minutes once the fluid started flowing. I expected the old fluid to be really bad, but it was surprisingly clean given how long I let it run between changes!
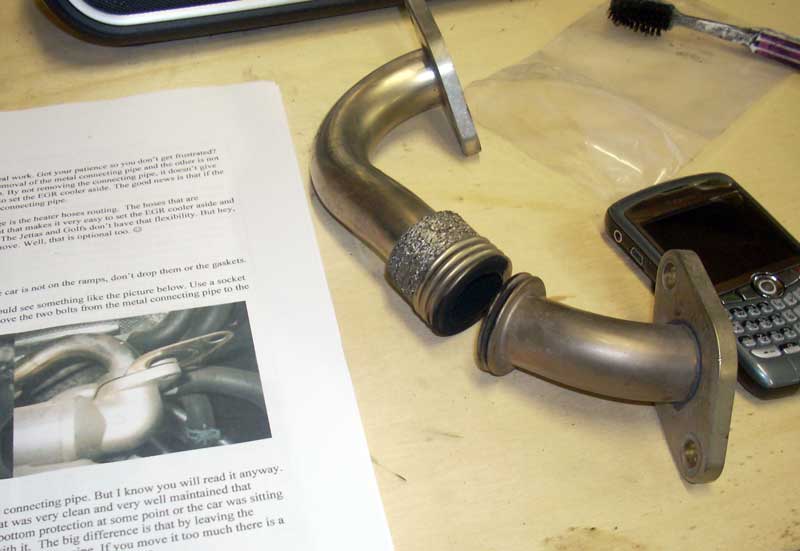
Next up I took on the EGR and intake cleaning. It has been less than a year since I did this, which bothers me. It is a real PITA task with lots of stuff to pull of the car, and many fasteners in hard to reach places. The EGR is easy to open and look at early in the process, and sure enough it looked very sooty… but nowhere near as much as last time. As I progressed I discovered a cracked exhaust cooler feed pipe which may explain the car’s behavior more than a clog would.
I’ll have to buy another one, which likely will take a while to track down.
Meanwhile, I’m going to forge ahead and remove the intake and give it a good cleaning. While not as gummed up as last time it still could use a cleaning while I’m in there. I managed to get most of the way there today with only 5 more bolts to go to remove it.
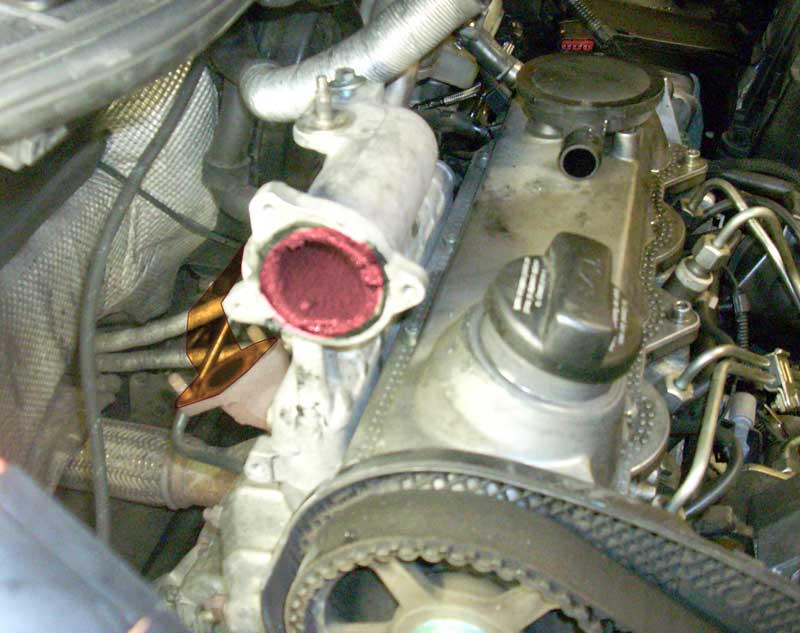
I’ve highlighted in RED the intake manifold where the EGR pumps exhaust back into the engine’s intake. No the soot is not naturally pink, it just looks that way! To the left of it I’ve highlighted in ORANGE where that (now cracked) pipe routes.
I’ll update everyone as I progress.
Car Photo of the Day: Carrera
I spent today wrenching in the barn (more on that soon) so I’m very late with the CPotD, sorry.